- This level occupies the map slot MAP24. For other maps which occupy this slot, see Category:MAP24.
- This level occupies the map slot MAP25. For other maps which occupy this slot, see Category:MAP25.
MAP25: Demonic Hordes is the twenty-fifth map of the second release of Alien Vendetta. It was designed by Vincent Catalaá and Sam Woodman. It uses the music track "You Suck," the game over theme from Rise of the Triad. In the first release, it was MAP24, with the MAP25 slot taken by Valley of Echoes. Valley of Echoes was replaced in the second release by MAP24: Clandestine Complex, and Demonic Hordes was moved to the MAP25 slot. The level consists mostly of big battles with hordes of enemies teleporting in several areas as the player progresses through the level.
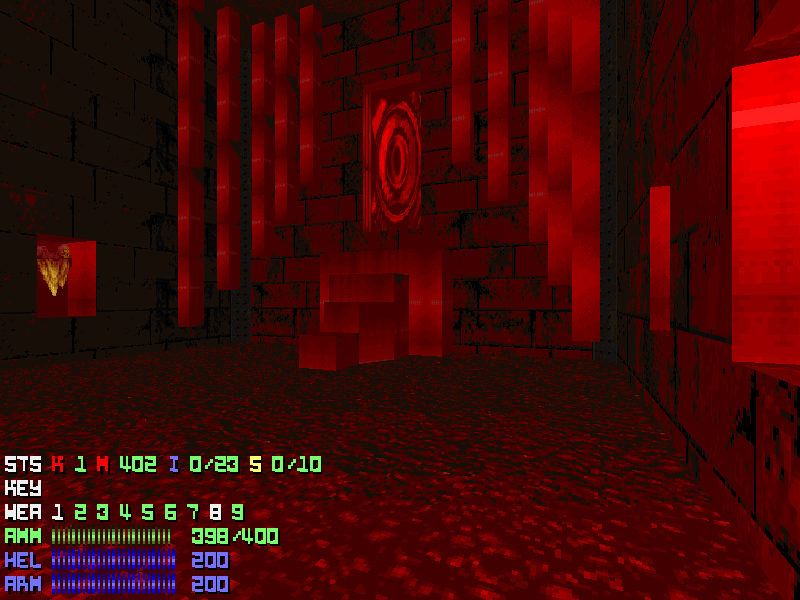
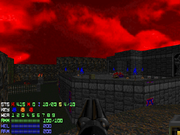
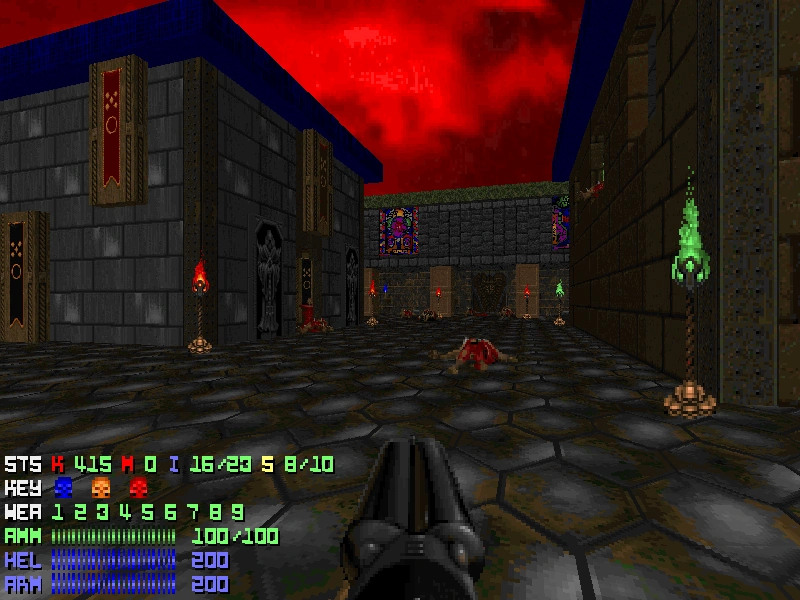
Red orgues in the start
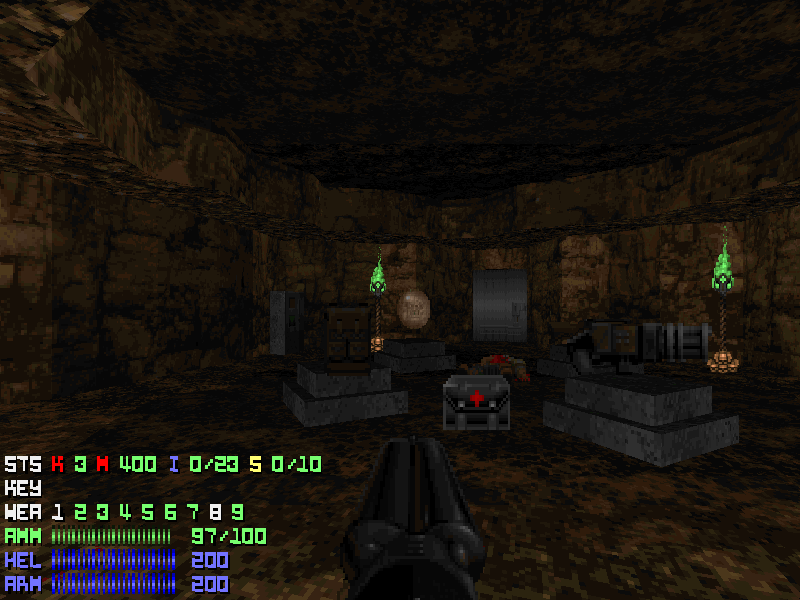
First trapped room
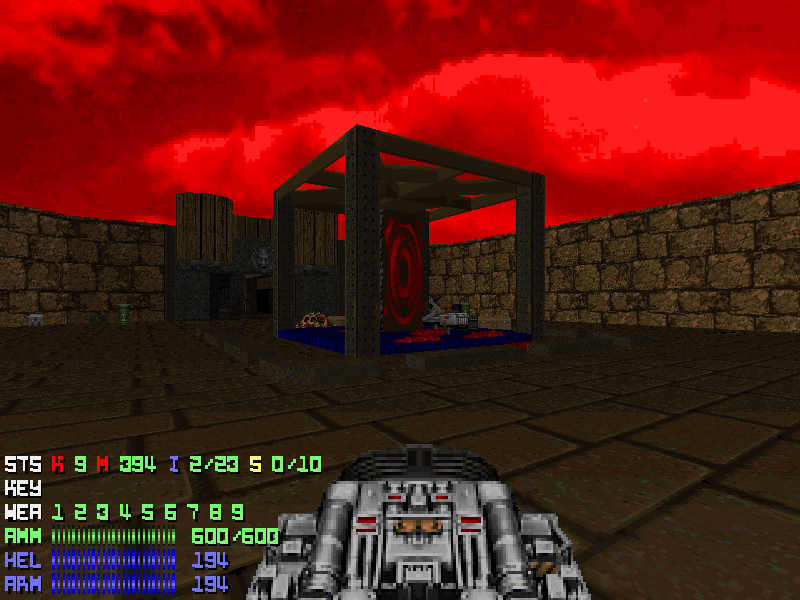
Second trapped room
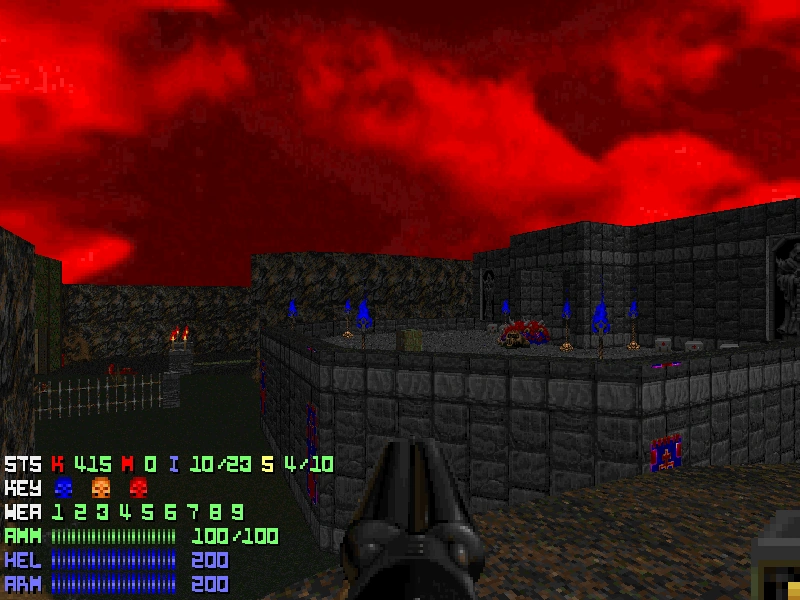
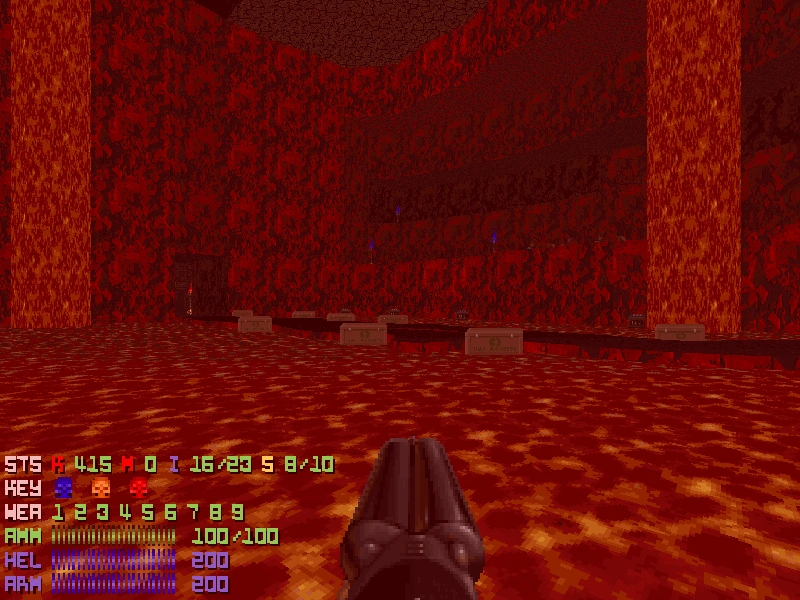
Heretic themed place

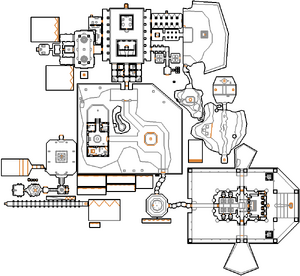
Automap view of MAP25: Demonic Hordes
Walkthrough[]
Secrets[]
- Once inside the building in the first large grassy outdoor area of the level, go into the study to the south. Search the floor for a blinking arrow pointing to the side of the one of the bookcases. Press the use key on this side of this bookcase to lower it, revealing a teleporter taking you to the fountain in the main room of this building, where a megasphere is located.
- In the room with the switch that lowers the blue skull bars, there is a demon-faced wall to the left of the switch. Use it, and the wall will lower, revealing a teleporter, which takes you to a ledge in the outdoor area with a BFG and some ammo.
- Once inside the the front part of the church in the second large outdoor area, shoot the red cross. Two small alcoves with soul spheres will open on either side.
- Go to the back side of the church in the second large outdoor area. (where the altar with the yellow key is) There are two doors in the rear wall, one on either side of the glowing red inverted cross; go into the left-hand one. From here, walk straight forward until you hit the wooden wall immediately ahead, then open the stone wall to your left. There is a megasphere and some cells in this secret alcove.
- After lowering the yellow skull bars you will gain access to what looks like a town square. At the south end of the town square is a short tunnel with four doors leading into small rooms. Go into the second door on the left (southeastern). In this room, walk around the crates until you can go no further. There will be two crates stacked on top of one another; press the use key on the lower crate and it will lower like a lift would, revealing a BFG. Step inside and, before the crate rises again, open another crate to your left (there is a triangular symbol on it). Ride it up to get some ammo cells.
- Go through the center door on the east side of the town square. At the far end is a grassy yard with a switch in it, and a fence at the south end. There is actually a barely noticeable opening in the fence (to the left of the big tree on the right), and behind some vines is a hidden cave with some ammo inside. Inside the cave you'll notice that one of the walls is colored differently from those around it. To open it, run back to the switch in the yard and press the use key on the opposite side of the switch the satyr face is on. The wall will lower, revealing a gargoyle switch which opens the wall in the cave. Behind it is a fairly expansive secret area. Step onto the bleeding red circular platform to retrieve an invisible megasphere. Also of note in here is the fact that all of the waterfalls can be climbed up, letting you retrieve the commandos' chainguns, as well as a couple other weapons.
- Back in the town square, go through the northern door on the eastern wall (which was opened by the satyr switch mentioned in secret 6). In this corridor there are several draperies hanging on the wall. The center one on the north wall looks different from all the others (it has the symbol of Neptune on it, seen frequently in the Heretic and Hexen games). Open this wall to get yet another megasphere.
- Go through northern door on the west side of town square. Inside is a room with some skulls on it - open it and grab the four backpacks. Inside this alcove is a skull switch. Flip it, then quickly run into the room to the south (where all the crates are). One of the crates has temporarily lowered, and there's some rocket ammo inside. It may take a few tries to reach in time.
- Go through the southern door on the west side of town square. On the back wall of this room are three flashing paintings/reliefs. The ones and the left and right have horses on them. You need to run from the central platform in this room straight through either of these paintings (straferunning is the easiest method). Inside this secret area, there are depressions in the wall with reliefs of skull and what appears to be a spine. One of these opens, with a room behind it with a plasma rifle on a pedestal too high to reach. Open the painting/relief at the back of this room to gain access back to the main room. From the same platform you accessed the secret area from, run through the now-opened central painting and onto the pedestal to get the plasma gun (note that getting the plasma gun does not trigger the secret, merely entering this area does.
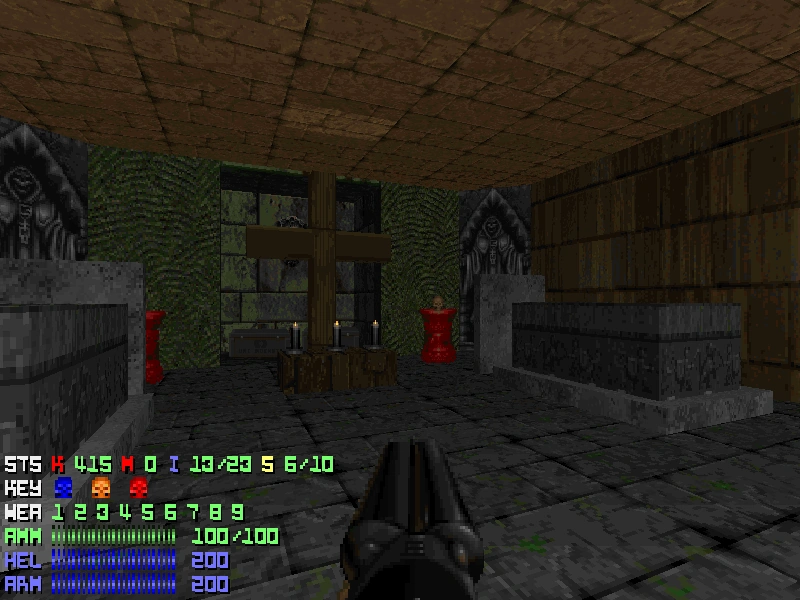
- At the far back of secret 9 is a small crypt with some stone coffins and a wooden cross. Shoot the Icon of Sin-faced wall at the back of this room to get a soul sphere.
Bugs[]
Because three invulnerability spheres are inaccessible unless playing coop, the maximum single-player item percentage is 88%.
Speedrunning[]
Routes and tricks[]

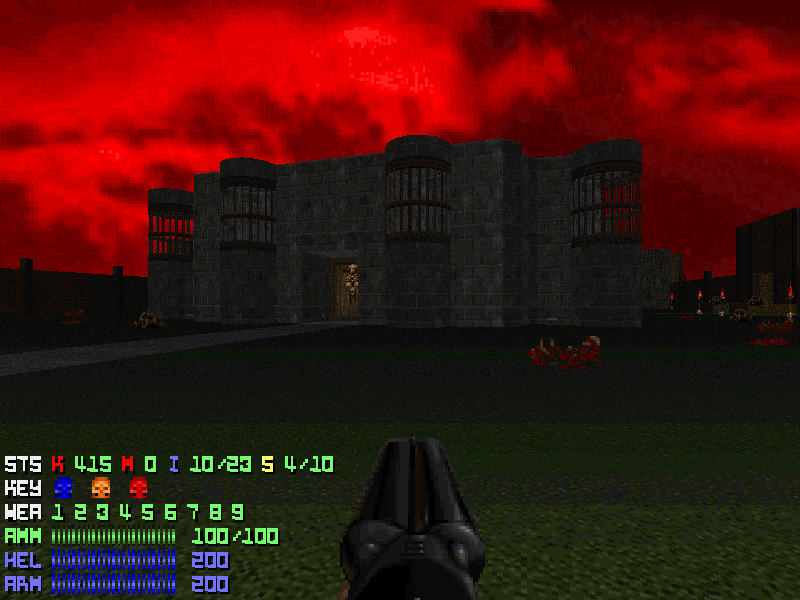
Castle to the yellow key

Haunting the chapel
The red key is in the grey one
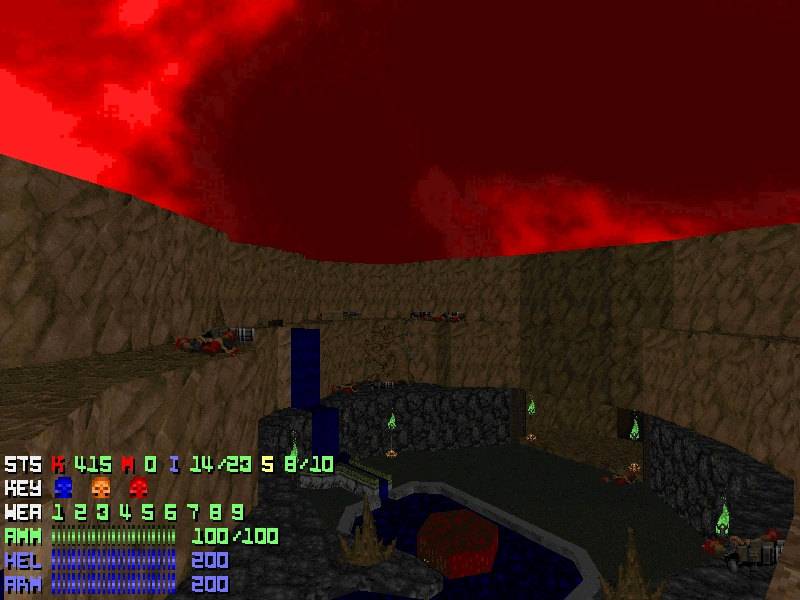
Secret arena
End rooms
Records[]
The Compet-N records for the map are:
| Run | Time | Player | Date | File | Notes |
|---|---|---|---|---|---|
| UV speed | [1] | ||||
| NM speed | |||||
| UV max | |||||
| NM100S | |||||
| UV -fast | |||||
| UV -respawn | |||||
| UV Tyson | |||||
| UV pacifist |
Statistics[]
Map data[]
| Things | |
| Vertices | |
| Linedefs | |
| Sidedefs | |
| Sectors |
Things[]
| Monsters | ITYTD and HNTR | HMP | UV and NM |
|---|---|---|---|
| Arachnotrons | |||
| Arch-Viles | |||
| Barons of Hell | |||
| Cacodemons | |||
| Chaingunners | |||
| Commander Keens | |||
| Cyberdemons | |||
| Demons | |||
| Hell Knights | |||
| Icon of Sin | |||
| Imps | |||
| Lost Souls | |||
| Mancubi | |||
| Pain Elementals | |||
| Revenants | |||
| Sergeants | |||
| Spectres | |||
| Spider Masterminds | |||
| Troopers | |||
| Wolfenstein SS | |||
| Powerups | ITYTD and HNTR | HMP | UV and NM |
| Armor bonuses | |||
| Backpacks | |||
| Berserk packs | |||
| Blue armors | |||
| Computer maps | |||
| Green armors | |||
| Health bonuses | |||
| Invisibilities | |||
| Invulnerabilities | |||
| Light goggles | |||
| Medikits | |||
| Megaspheres | |||
| Radiation suits | |||
| Soul Spheres | |||
| Stimpacks | |||
| Weapons | ITYTD and HNTR | HMP | UV and NM |
| Chainsaws | |||
| Shotguns | |||
| Super shotguns | |||
| Chainguns | |||
| Rocket launchers | |||
| Plasma rifles | |||
| BFG 9000s | |||
| Ammunition | ITYTD and HNTR | HMP | UV and NM |
| Ammo clips | |||
| Bullet boxes | |||
| Shells | |||
| Shell boxes | |||
| Rockets | |||
| Rocket boxes | |||
| Energy cells | |||
| Bulk cells | |||
| Keys | ITYTD and HNTR | HMP | UV and NM |
| Blue cards | |||
| Blue skulls | |||
| Red cards | |||
| Red skulls | |||
| Yellow cards | |||
| Yellow skulls |